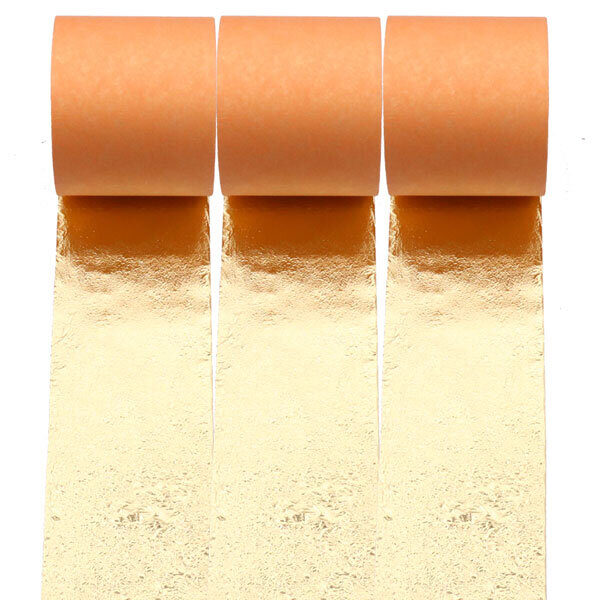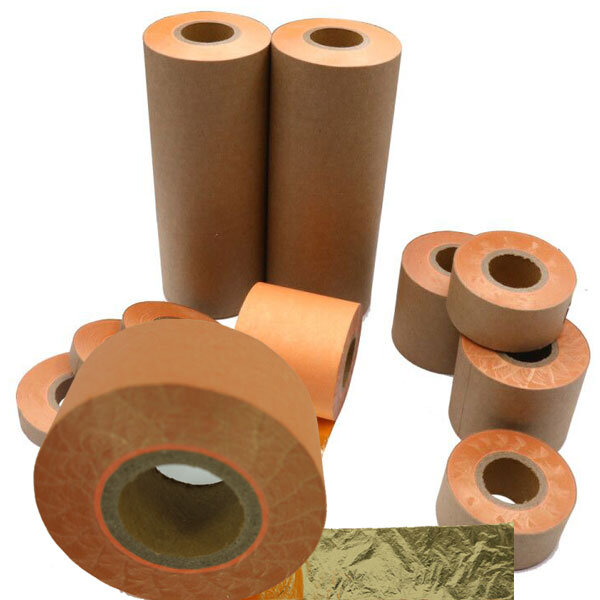
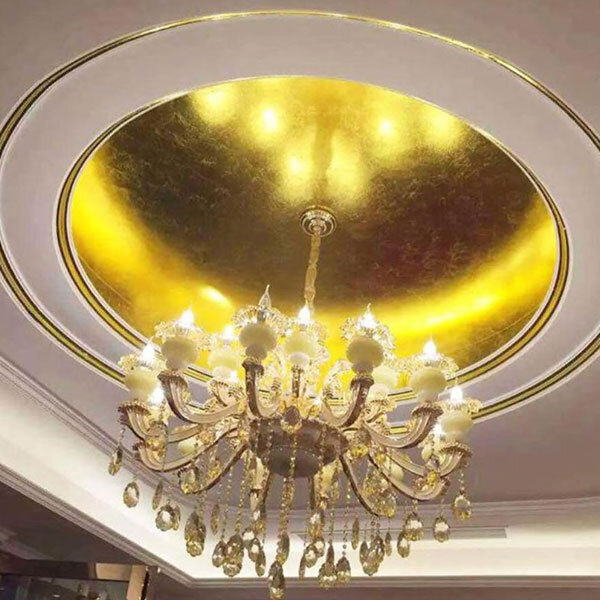

Copper rolls are used for gilding walls and large surfaces. Interior designers and picture-framing professionals often use them. Transform a plain wall into a metallic finish to create a luxurious environment in homes, restaurants, and offices.
To apply a copper roll to the wall, follow these steps:
- Open the roll and begin at the top of the wall. Place the first 5 cm of the copper roll on the wall, then extend it to the floor, ensuring it does not touch the floor.
- Make sure the roll is perfectly vertical. Using a paint roller, start from the top and work your way down. Be careful not to let the roller touch the adhesive at this point. Press down with the roller to ensure that the copper adheres appropriately to the wall.
- Once you reach the bottom, cut the copper where the wall ends.
- For the second sheet, start at the top again, but this time, place the copper roll so that it overlaps the first sheet by 1 cm. Follow the same method as you did with the first sheet until you have covered the entire wall.
Remember that the copper roll is soft and fragile, so avoid pulling it too hard to prevent tearing. If tearing occurs, cut out the torn section and start again.
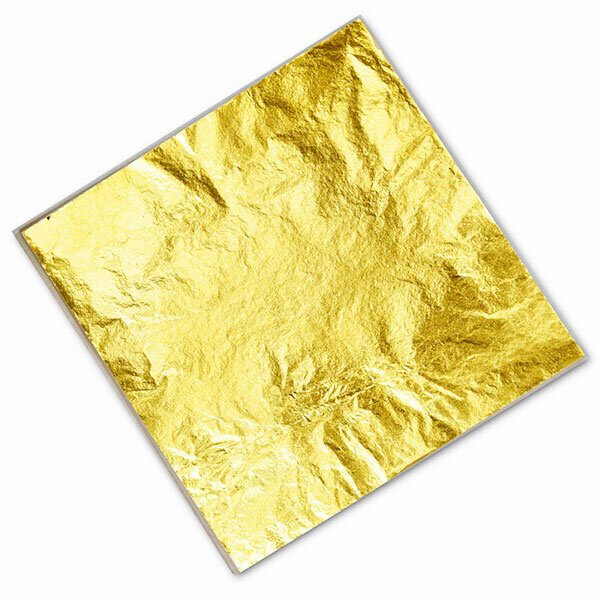
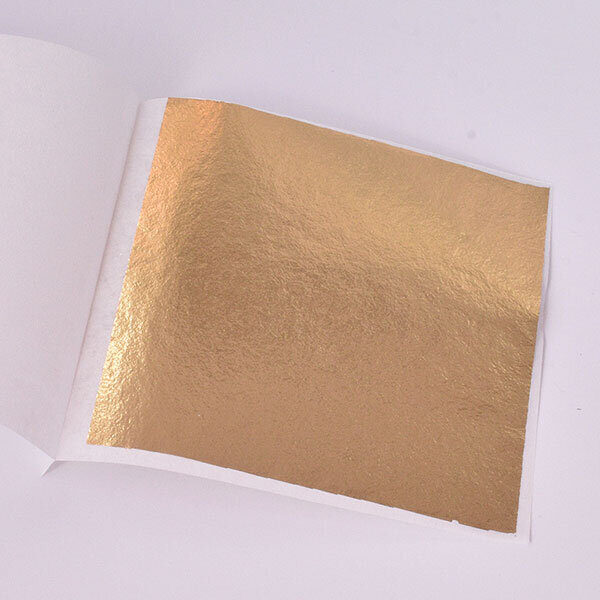
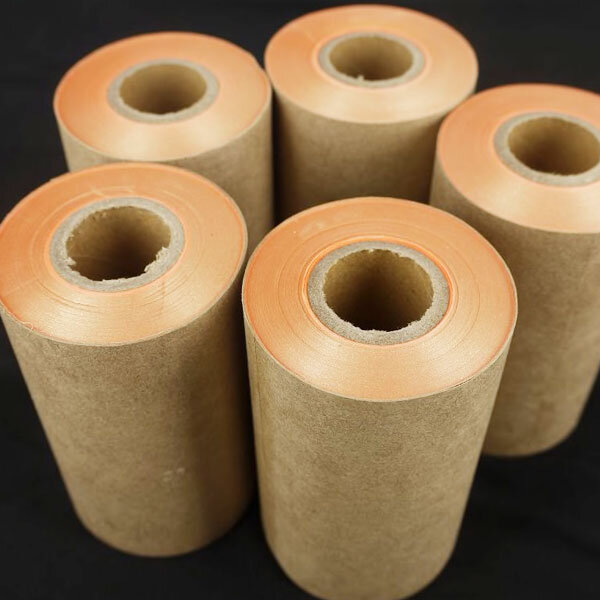
Thickness: Approximately 1 micron. The roll measures 16 cm in width but can also be cut to a specific width to minimize copper leaf waste.
- To apply copper leaf, you will need a Transfer Application Brush.
- For gilding, the recommended sizes for the leaves are Kolner Aqua Size, but you can also use any gilding size you have on hand.
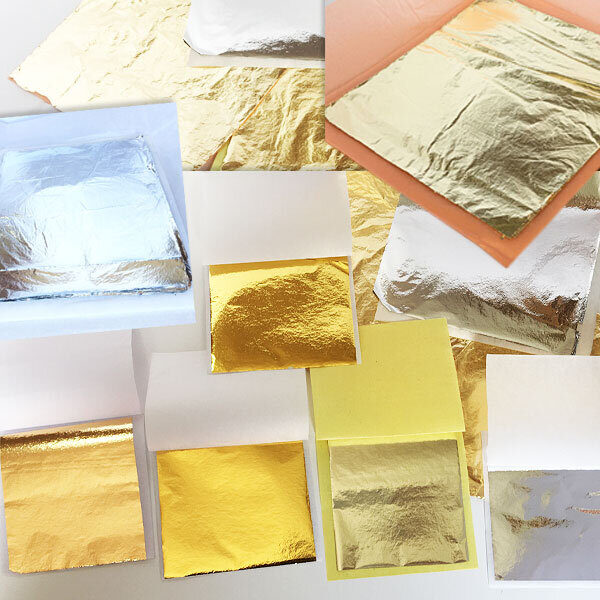
- When working with imitation metal leaf, such as copper, gold, or silver, it is essential to wear Gilder’s Gloves. This helps prevent moisture from your fingers from affecting the metal leaf.
- To protect imitation gold leaf from oxidation, apply a protective varnish, such as Kolner Leaf Protect.
- Finally, use a Gilder’s Mop to gently brush away any excess leaf for a flawless gilding finish.